Please join us tomorrow for a coloring tutorial and a mini fall tutorial. The demo will show how to draw and color a realistic pumpkin. If you have Penelope's Garden coloring book--great! We will be using a page from the book. But never fear--if you don't, just grab a black marker or pen and your favorite colored pencils because the first five minutes will show you how to draw a realistic pumpkin. If you would like to download a page from the coloring book please click HERE and pop over to my Etsy shop.
If you would like to use the free color along page click HERE.
If you would like to buy the coloring book click HERE.
And if you would like to learn to draw the pumpkin at the start of the hour and use it to color just bring a black pen or marker, Sharpies are great, and get ready to draw! CLICK HERE to join! Looking forward to seeing you there. Color on! xo
It is almost September! For many it is back to school time, for me it is one day closer to Halloween! My next coloring book is Penelope's Garden, out in a few weeks, and in celebration I made a cute witchy Penelope charm. I drew her on a three inch Shrinky Dink circle with Sharpies, put her in a 325 degree preheated toaster oven and cooked til flat. Very important! I punched the hole in the top before toasting. She looked a bit muddy so I added some acrylic paint highlights. Here is a quick vid of the highlights at the end. Enjoy and Happy (getting close to) Halloween!
Just a quick weekend post to show off this great craft from a cereal box by Craiftingeek!
You will need: A cereal box An Exacto knife Glue Decorative paper Glitter and other crafty decorations
I thought this was great, and of course you can update it in whatever fashion you choose. Flowers, under the sea, holiday--the sky's the limit! Have fun! xo
I've always found plenty of crafts for Halloween and Christmas, but Thanksgiving lagged behind. Not this year! I am finding so many adorable things from so many creative ladies. This thankful tree from Simply Vintage Girl is so charming. It is rustic and modern at the same time. The jar is filled with unshelled nuts, but I think pine cones, rocks, or even your favorite candy would do the trick too. The tags are pieces of wood painted with blackboard paint. Pieces of cardboard written on with colored pencils, markers, Sharpies or even crayons would do the trick. Find the complete How To HERE Have fun! xo
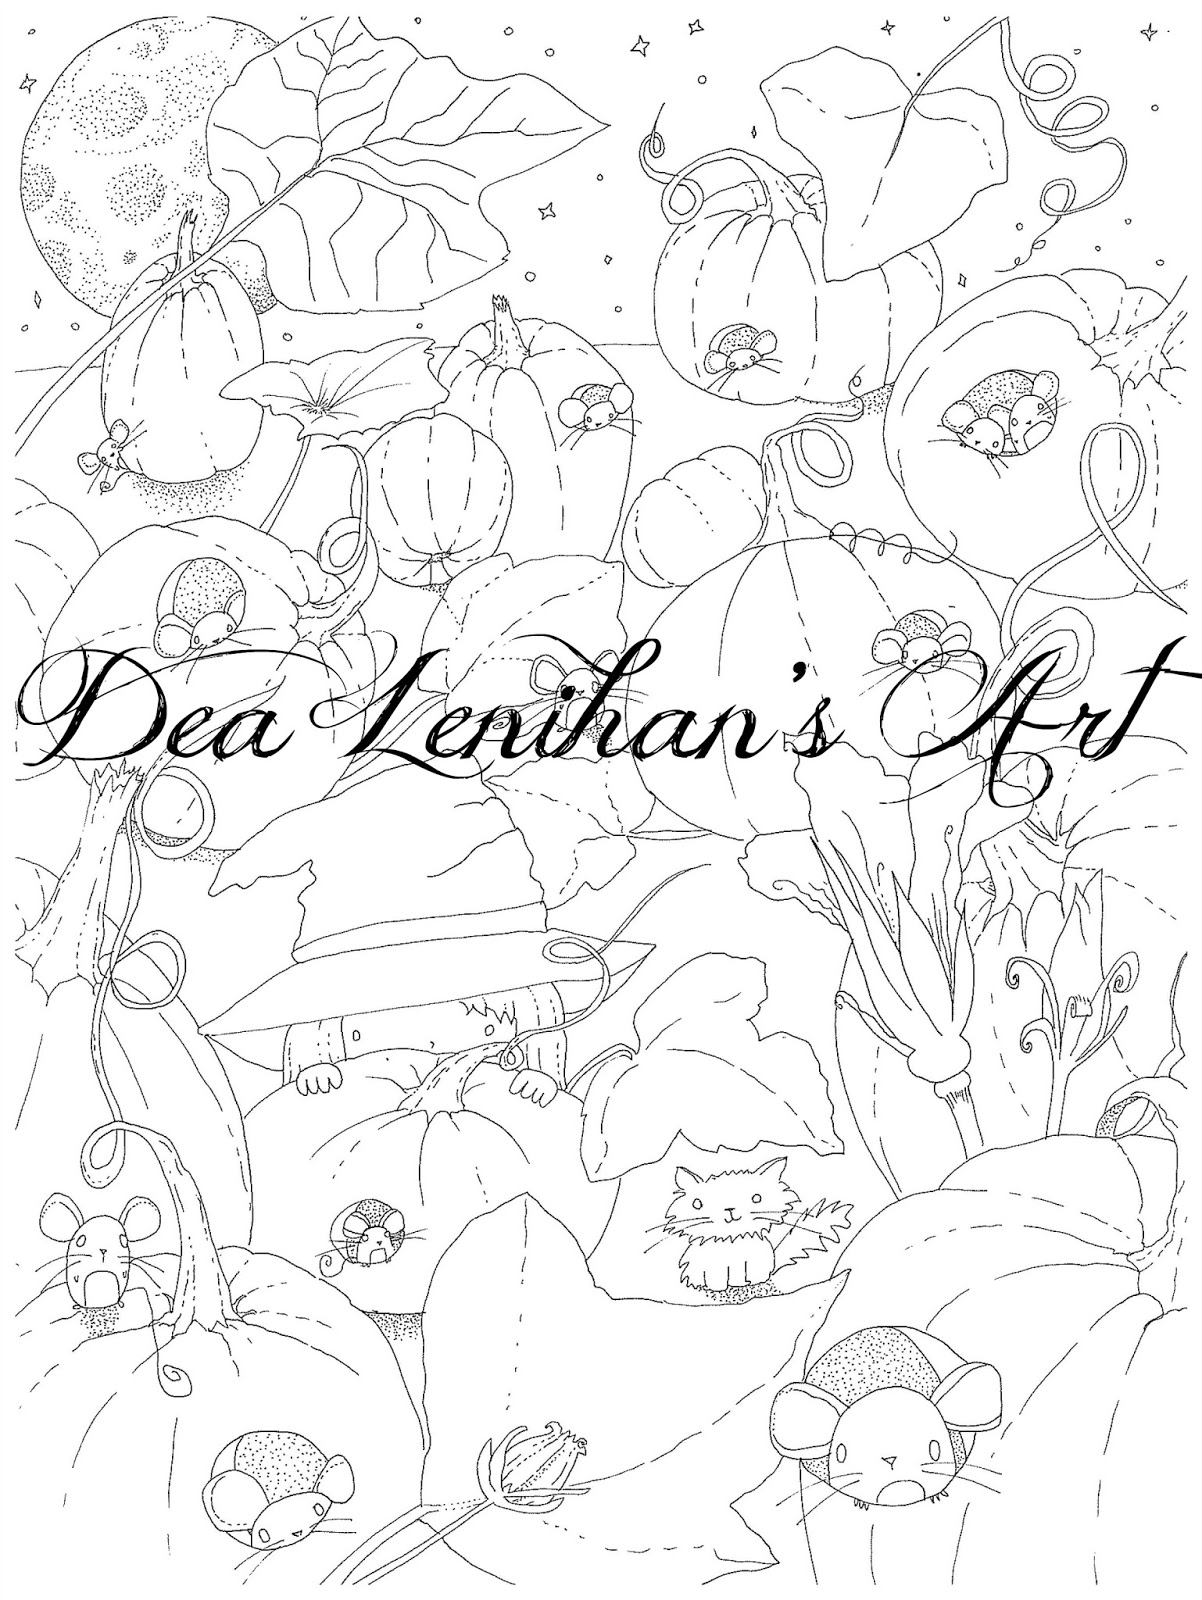
Coloring books are IN! Here is a free and fun image of an ever so slightly spooky garden for you and the kids. You can almost imagine these mushrooms could be waiting in a witches garden for use as in ingredient in her brew! To download, right click the image and save to your computer. Then have fun coloring! xo
Today as I perused Instagram I came across one of the cutest, easiest spooky crafts of the season. Posted by muminthemadhouse, these Clay Tealight Ghosts were done by one of her nine year olds. What you'll need: Air dry clay (Crayola makes one for under $5 HERE) Rolling pin or smooth bottle Butter knife Shot glasses or bunched up paper towel Just roll out the clay to about 1/8 of an inch. Cut appx. six inch diameter circles. Form ghost shapes over the shot glasses or paper towel, then make marks where the eyes and mouth will be. Lay flat again, then cut out eyes with butter knife.
Drape ghosts over glasses again and let dry. When dry (about 24 hours) place a battery operated tea light beneath ghost and place in a very dark corner to create a spooky atmosphere. I love these! Hope you do too. Thanks Mum in the Madhouse! xo
Kids love Halloween, crafts, and movies. Here is a craft that combines all three! All you need for this craft is: One book of Post-It notes A pen A backdrop light source (I used my iPhone) First decide what your mini movie will be about. (Keep it simple.)
Then draw your first frame on the LAST page of the Post-It notes. Your next page will have to be very similar except for a slight change, you can start showing any action here in a very small way.
(Here the ghost starts to pop out.) The next frame he pops out a tiny bit more. (Notice the grave stays the same. I traced the grave using my iPhone to back light the image in each frame.)
Make your character move only a tiny bit in each frame. (You can check to make sure by using the iPhone here also. I went to the NOTES page and started on a new page because it is blank and bright.) Keep changing your picture a tiny bit at a time until you have an image for each Post-It.
When you are done drawing, start at the back and flip through the pages. Watch the action! It is a bit easier to do if you keep your images either in one corner or across the bottom of the pages. Have fun!!
When I was in third grade I did not like my art teacher but he taught me one thing I will never forget--how to make a pumpkin look like it has dimension. That started a whole 3D thing for me--block lettering, perspective--but that is for another post. Back to the pumpkin. Like the title of the post says, this pumpkin is a bit more complicated than a cut-out orange circle and black triangle eyes. It shows dimension, color blending, shading, and highlighting. It takes a bit of time, but the results are worth it, especially for kids who like a challenge.
First, lightly draw an oval--any kind will do. Draw lightly at first because you may want to erase the guidelines later. Mine is a bit wide. Then draw a slightly crooked rectangle (technically a rhombus) for a stem .
Starting at the bottom edges of the little rectangle, draw big curved lines to the bottom of the oval, keeping them a bit apart like this. As the lines get close to the edge, curve them to the side of the drawing. And then curve them toward the back, like in picture three. You should see a bit of dimension now.
To make the stem look 3D add a small oval on top to indicate where it was cut. Many times the cut is not perfect so go around the small over and make jagged lines. Then curve the sides of the rectangle in slightly.
Now connect the curved lines at the bottom and the top, and also around the stem to indicate the shape of the pumpkin. Keep these lines pretty close to the original lines, if they are too curved the pumpkin looks fluffy. These lines makes it more like a pumpkin and less like an oval.
It should look pretty pumkinish by now. Then erase the original lines.
Notice the curved lines under the stem also. This also adds shape to the pumpkin and makes it seem plump and round. To color use any paint you like, markers, or colored pencils.
I'm using colored pencils in several shades of yellow, orange, brown, ocher (a brownish-yellow, great for fall), and russet, (kind of reddish-brown). These are Polychromos by Faber-Castell. I LOVE these pencils, BTW. BUY HERE
First color with the yellows. Use the lighter shades first. Then move to light orange.
When shading use slightly darker colors in the creases and lines, and leave an area lighter if you like to show where the sun hits it. The darkest areas will be behind stem, at the bottom, and in the creases on the pumpkin and around the stem
Light brown can be used to show shadow around the stem, at the bottom, and in the creases. Don't worry, the pumpkin is not perfect. Wavy lines or mistakes can sometimes add to the charm.
Use ocher, russet, and even some greens in the stem. Notice the lines in the stem that add depth and make it look a bit cracked. Some green can also be used in the pumpkin itself.
If you'd like to make your pumpkin into a Jack o'lantern, with a black pencil draw two triangles to indicate eyes. A triangle for the nose draw and a nice wide smiling mouth. You can even add a few teeth. To add even more dimension, sketch in lines in the triangles on the left side to show depth. It's almost like you can see the inside of the pumpkin. Do the same of the curved side of the mouth and sides of teeth.
Or you can leave it just as you found it in the patch. Voila! A pretty realistic pumpkin!
Now you can draw a few more--make them tall, or round, or even in different colors. Here is one done by a boy who followed the directions. It looks great, and very different than mine.
Show me what you make and how you decorate with your pictures. xo
Summer went by too fast! Bring a tiny bit of artsy fun into the classroom with a back to school bookmark for the teacher. For this craft you will need:
Elmer's (or similar) glue Colored Sharpies Thick paper or cardboard in color of your choice Clear plastic sheet First cut out a long book mark shape from the paper.
It can be any shape you like, curvy, swervy, a flower, a lightning bolt, or a rectangle. Just use your imagination and have fun. Cut a window in the paper. Using the paper bookmark as a guide, cut the clear plastic slightly smaller than the bookmark.
Now make any type of stained glass design with the Sharpies that you choose. Flowers, shapes, even just one or two colors looks great. If you are using white paper or cardboard you can color it with the Sharpies too. Take the glue and put a thin line around the clear plastic when you have finished coloring, and glue it on the window.
Viola! You have a beautiful stained glass bookmark lovely enough to grace any book. Have so much fun and please show me the bookmark that you and your kids create. Email to dealenihan @gmail.com. XO